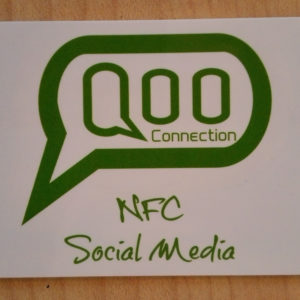
Welcome to Qoo!
Qoo Bracelet is Nfc social media communication. It gives you the freedom of interaction in the real-world. By passing any Nfc enabled phone now including iPhone 8 and X, over a registered-activated-initialised Qoo Bracelet or other Qoo device, your personalised profile appears on the other´s phone. Give access to your social circles anytime.
PLEASE FEEL FREE TO USE QOO WITHOUT A DEVICE.
SIMPLY REGISTER BY ENTERING A USERNAME, EMAIL, SITENAME AND SITETITLE.
YOU WILL NOT RECIEVE ANYTHING BUT FRIENDLY EMAILS IN CASE OF NEED FOR ASSISTANCE.
If you would like to purchase a device later to go with your dreamboard, in the notes field upon purchase don’t forget to include that you already have a dreamboard and include the sitename. Otherwise purchase an Nfc device where you can and customize it yourself with the app Nfc Tools.
When having had had purchased a device from Qoo Connection prior to initializing the product, you will have received a nine character letter/number code that is completely random for the sake of your dreamboard. To make sure that the Qoo device functions properly with your registeration of your dreamboard it is important to follow ‘STEP 4’ of these instructions carefully!
Instructions to Register-Activate-Initialise your Qoo Bracelet:
For further instructions on how to Customise and add photos from Facebook watch the ‘Register-Activate-Initialise’ video and look at the ‘Qoo Customisation Instructions’ under the ‘Getting Started’ area of the homepage.
![]()
 Qoo card
 Qoo sticker
$99.00
Qoo sticker
$99.00
 Qoo keychain
$145.00
Qoo keychain
$145.00
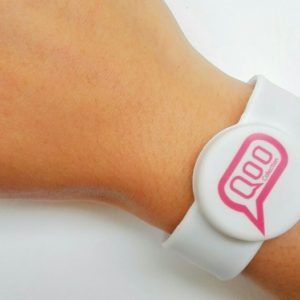 Qoo Bracelet
$88.00 – $102.00
Qoo Bracelet
$88.00 – $102.00